
Stratagem Tier List for Helldivers 2? Look no further. PlayStation and PlayStation PC Exclusive, Helldivers 2 makes the most of the extraction shooter genre with its amazing live service experience but things get even better when your Destroyer spaceship plays a key role in aiding you during your Helldives. In Helldivers 2, players can manage, equip, and deploy different types of Defensive and Offensive Stratagems – whether it be orbital lasers running down Bile Titans or Autocannons obliterating enemy tanks. So, without further ado, let’s rank the Best Stratagems in Helldivers 2 From Best To Worst.
Helldivers 2 Stratagem Tier List – Summarized
Here’s our Helldivers 2 Stratagem Tier List, Showcasing The Best Offensive Stratagems in Helldivers 2 Ranked From Best To Worst:
- Eagle 500 Kg Bomb (S-Tier)
- Orbital Laser (S-Tier)
- Eagle Airstrike (A-Tier)
- Eagle Cluster Bombs (A-Tier)
- Eagle Napalm AirStrike (B-Tier
- Orbital Precision Strike (C-Tier)
- Orbital Railcannon Airstrike/ Orbital Railgun (C-Tier)
- Orbital Walking Barrage (C-Tier)
- Heavy Strafing Run (D-Tier)
- Orbital Gatling Barrage (D-Tier)
- Eagle 110mm Rocket Pods (D-Tier)
- Orbital Airburst Strike (D-Tier)
- Gas Strike (D-Tier)
- Orbital 380mm HE Barrage (D-Tier)
- Orbital 120 HE Barrage (D-Tier)
- Orbital EMS (F-Tier)
- Eagle Smoke Strike
- Orbital Smoke Strike (F-Tier)
Helldivers 2 Stratagem Tier List: Best Offensive Stratagems in Helldivers 2
Helldivers 2 throws you tons of stratagems to manage and equip when you’re reading up for a Helldive. You can pack 4 Stratagems in your Arsenal whether it be defensive or Offensive Stratagems. But which Stratagems are the best? That’s where our Stratagem Tier List for Helldivers 2 comes into play.
RELATED: Helldivers 2 New Update Kicked 120,000 AFK Server Squatters
Best Eagle Stratagems Helldivers 2 – Helldivers 2 Stratagem Tier List
The Best Offensive Stratagems in Helldivers 2 are by far the Eagle Stratagems. The Eagle is a carrier aircraft that drops a flurry of bombs, shells, and machine-gun hellfire on Automatons and Terminids. It sweeps in fast. The best part is that you can use the Eagle Rearm Stratagem to reuse your expired Offensive Eagle Stratagems in Helldivers 2
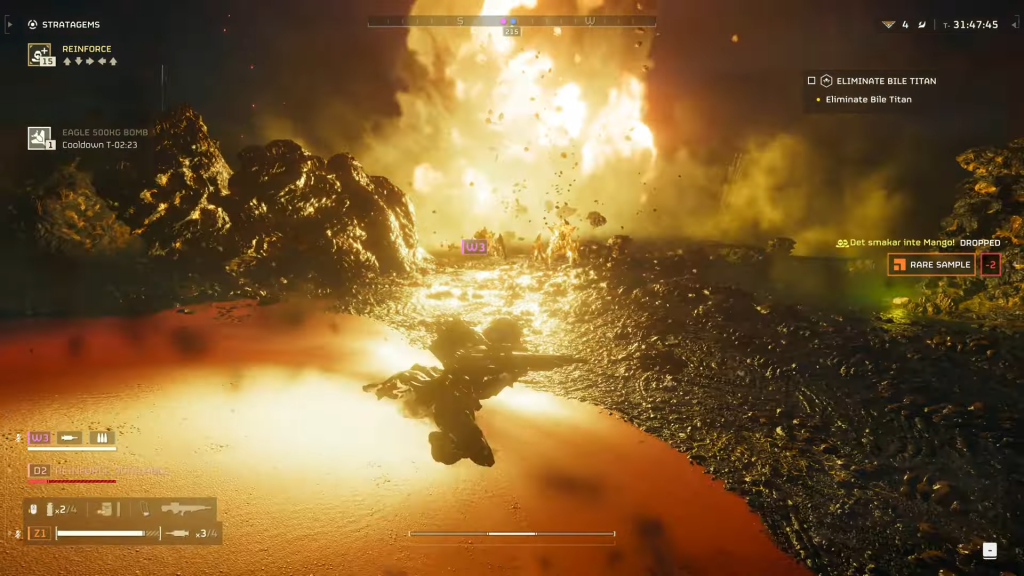
Eagle 500 Kg Bomb (Helldivers 2 Stratagem Tier List S-Tier)
- Unlock Level: Level 15
- Requisition Points Needed: 10,000
- Uses: 1 per game
- Stratagem Code: Ctr/L1 + Up, Right, Down, Down, Down
The Eagle 500 Kg Bomb is unlocked at Level 15 and is capable of obliterating large stationary or stunned enemies in seconds. The Eagle comes into play as it drops the bomb like any of the Eagle Stratagems in Helldivers 2.
The only downside to the 500 Kg Bomb is the fact that it can only be used once during a mission and has a hefty requisition cost coming in at 10,000 Requisition Points. But when it goes off, it does a deadly amount of damage, capable of taking out large enemies like Bile Titans with ease.
It also affects enemies within its blast radius but the damage drops off in the surrounding vicinity, so it’s great for one-shotting a big enemy but not ideal for taking out scattered enemies. Still, the Eagle 500 Kg Bomb is one of the best Offensive Eagle Stratagems in Helldivers 2, even though it can only be used once per game.
Still, there are a few caveats with the 500 Kg Bomb as it seems to be inconsistent at times when impacting enemy targets.
RELATED: Helldivers 2: Beginner’s Guide + Tips and Tricks
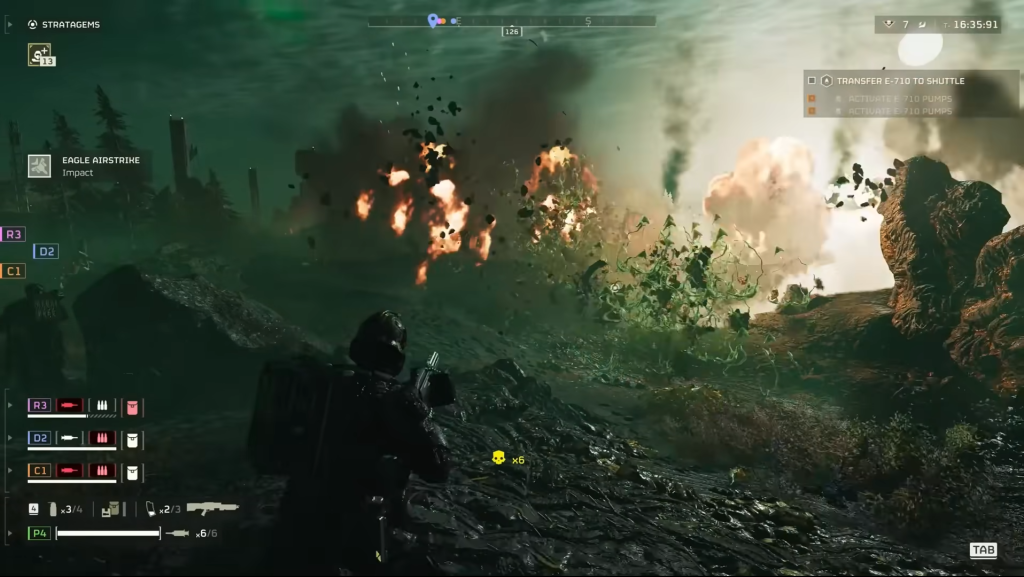
Eagle Airstrike (A-Tier)
- Unlock Level: Level 2
- Stratagem Code: Ctrl/L1 + Up, Right, Down, Right
- Uses: 2
- Cooldown Time: 15 seconds
Another Offensive Stratagem in Helldivers 2 coming in at 2nd place is the Eagle Airstrike. While the Eagle 500 Kg Bomb is the most used Eagle Stratagem in Helldivers 2.
The Eagle Airstrike does deserve its fair share of credit when it comes to taking out a massive number of enemies. The best method to use Eagle Airstrikes is to carry only 2 Eagle Airstrikes per game. Each Eagle Airstrike can be used twice. It also has a relatively low cool-down time allowing you to redeploy it for another use.
The Eagle Airstrike is ideal for wiping out a large area of enemies and it’s still capable of one-shotting enemy tanks with relative ease. If you find the 500 Kg Bomb a bit too inconsistent, then equip 2 Eagle Airstrikes and call it a day.
RELATED: How To Manage And Equip Stratagems in Helldivers 2 (Easy)
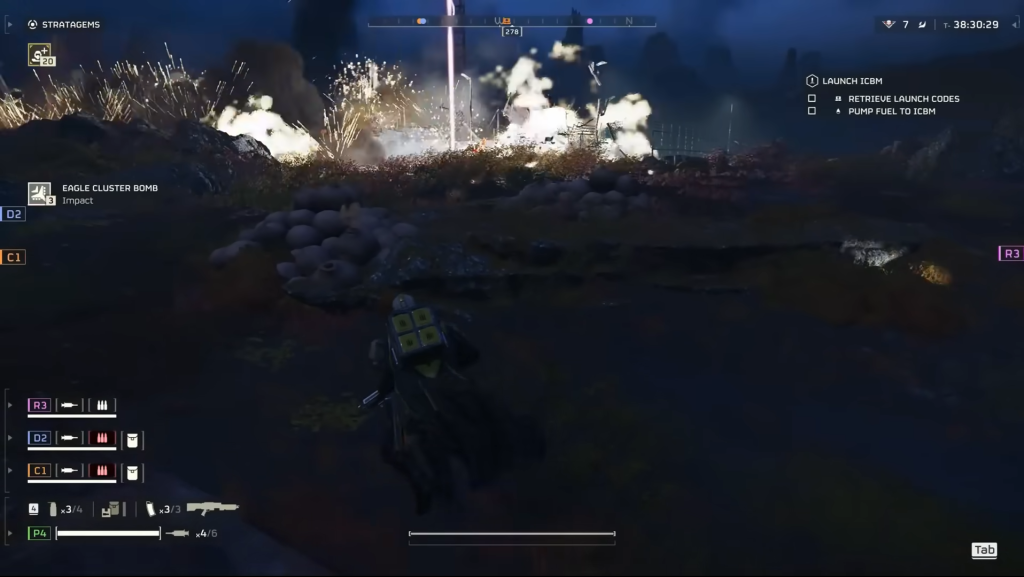
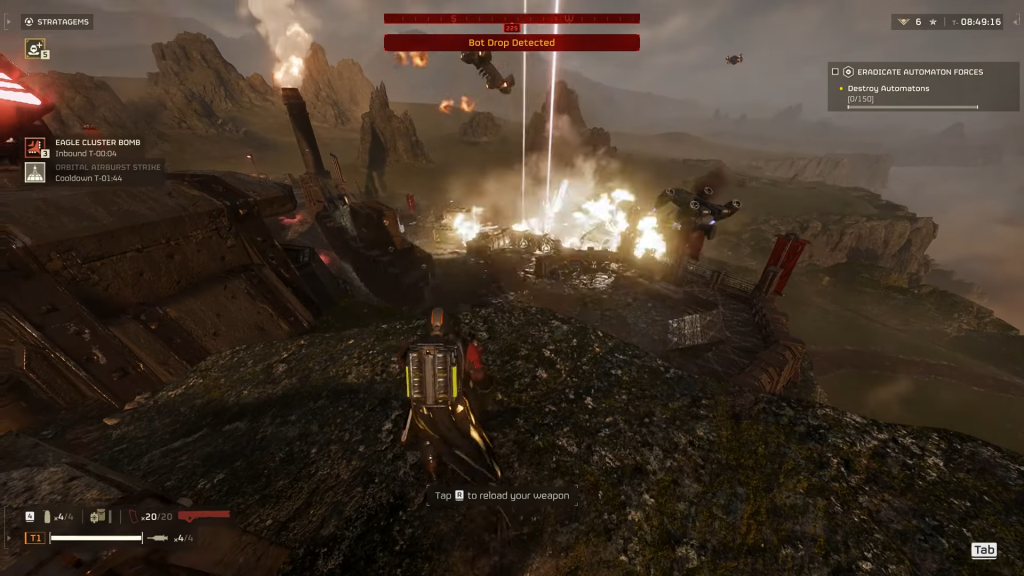
Eagle Cluster Bomb (A-Tier)
- Unlock Level: Level 3
- Stratagem Code: Up, Right, Down, Right
- Uses: 4
- Cooldown Time: 15 seconds
Coming in behind the Eagle Airstrike Stratagem is The Eagle Cluster Bombs Offensive Stratagem in Helldivers 2. To be fair, the Eagle Cluster Bombs go toe-to-toe with the Eagle Airstrike in terms of damage output, but where it shines in comparison to the Eagle Airstrike is its increased blast radius, which is capable of taking out light to medium-armored enemies within a single use.
The Eagle Cluster Bombs drop pretty fast in contrast to the 500 Kg Bomb and its huge area of impact decimates scattered foes and even your friends. So, make sure to make the best of comms before dropping hellfire on your enemies.
And the best part is that you can use the Eagle Airstrike 5 Times. Paired with the 8-second Cooldown, the Eagle Airstrike can certainly come in handy when a horde of Terminids or Automatons are gunning for you. Make some breathing room for yourself and rain cluster hell-fire for the sovereignty of Super Earth.
RELATED: Helldivers 2 Best Settings
Eagle Napalm Airstrike (B-Tier)
- Unlock Level: Level 5
- Stratagem Code: Up, Right, Down, Up
- Cooldown: 15 seconds
The Eagle Napalm Strike does a fair amount of damage that’s capable of killing small fry bugs and automatons, the likes of Cyborgs and Weavers, but don’t expect it to do significant damage to any of the bigger enemies that are tankier.
Think of primary objectives like Hulks, Bile Titans, and Chargers. The Eagle Napalm Strike Offensive Stratagem will deal passive damage to these enemies, setting them on fire. Eagle Napalm Strikes are also useful for denying an area and closing down any nests that spawn more insects and bugs.
Eagle 110mm Rocket Pods (D-Tier)
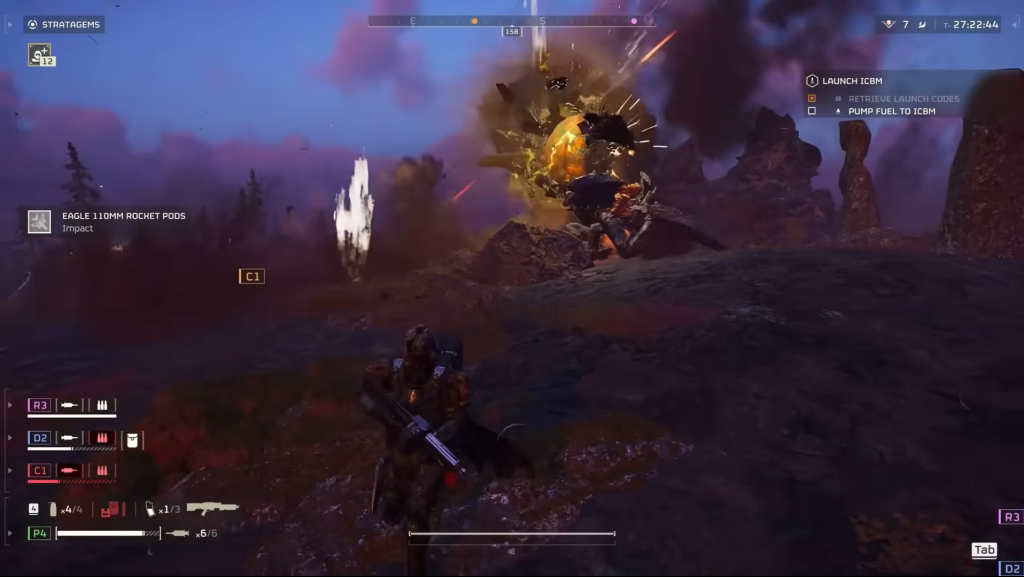
- Unlock Level: Level 10
- Stratagem Code: Up, Right, Up, Left
The Eagle 110mm Rocket Pod Offensive Stratagem is capable of killing high-level threats such as primary objectives, Bile Titans, Chargers, and Hulks, Paired with a low cooldown, it’s capable of getting multiple hits in. So, why is it in D-Tier, you might ask? Well, for some reason. The Eagle 110mm Rocket Pods are pretty inconsistent when it comes to hitting primary objectives or enemies that are moving all the time.
While it’s a powerful Offensive Stratagem, this inaccuracy of the Eagle 110mm Rocket Pods has been reported by many players and hence has put off most users from using this Stratagem. You might get lucky here and there and destroy a few enemy mobs. But, this is one of the worse Eagle Stratagems in Helldivers 2.
Eagle Strafing Run (D-Tier)
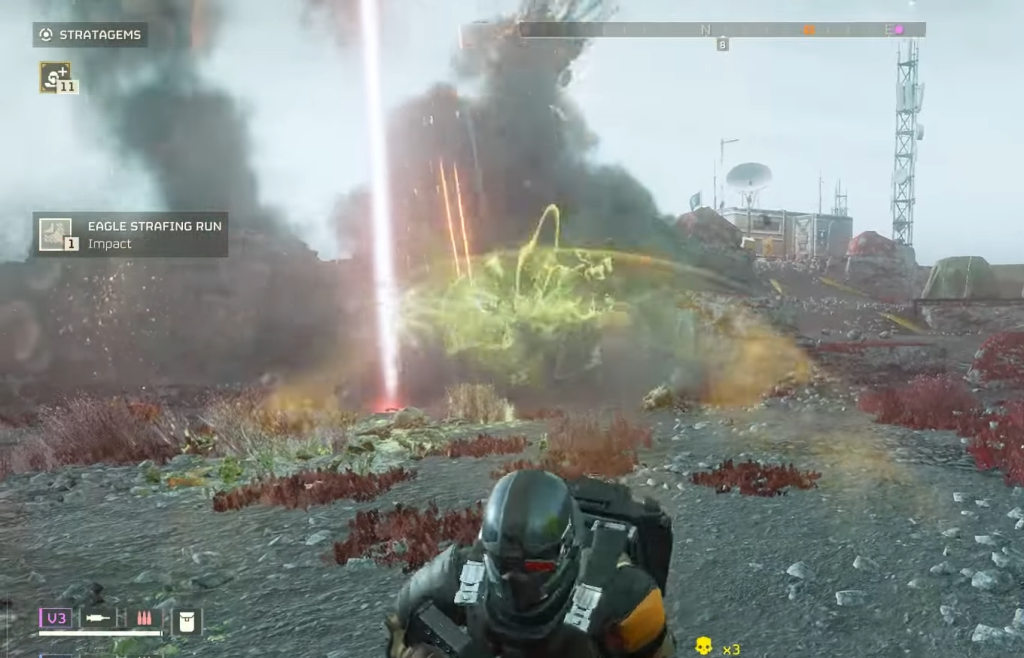
- Unlock Level: Level 2
- Stratagem Code: Up, Right, Right
- Uses: 3
The Eagle Strafing Run goes to the bottom tiers of the Offensive Stratagems in Helldivers 2. What it does is basically call in the Eagle which churns through enemies with a 25mm chaingun. While it’s effective against the spongier Automatons like Cyborg Butcher or the Bug Brood Commanders, it’s not effective against tanks and heavily armored foes.
Another downside to the Eagle Strafing Run is that it has a really long cool-down time of 35 which can leave you in a bit of trouble, especially if you’re dealing with tons of enemies in higher-level missions. Still, it does a decent job at chipping Cyborg Warlords and Hulks, but otherwise, the Heavy Strafing Run is easily replaceable by any of the other Stratagems on the list.
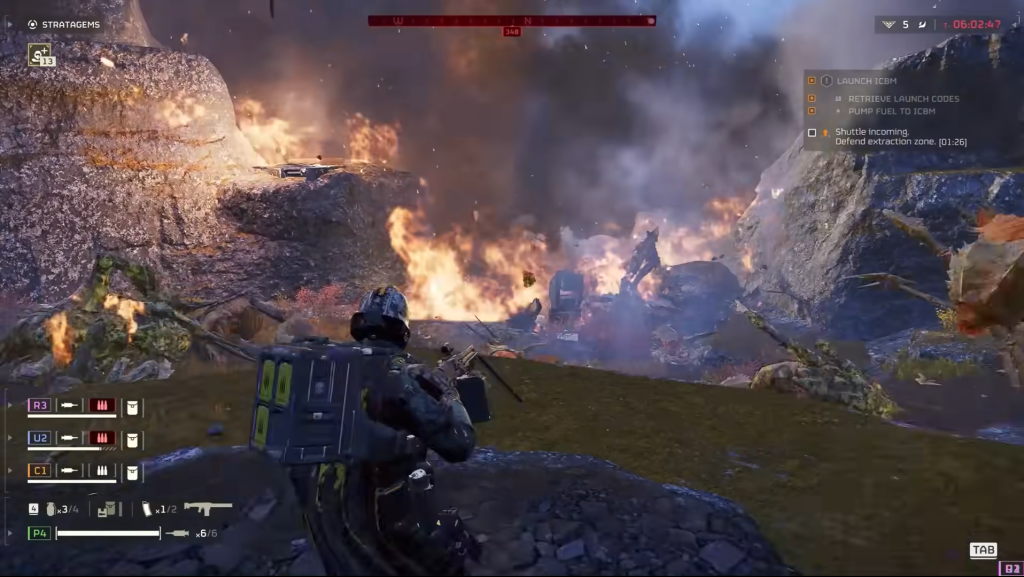
Best Orbital Stratagems Helldivers 2 – Helldivers 2 Stratagem Tier List
Aside from the Orbital Lase, most of the Orbital Airstrikes in Helldivers 2 aren’t really worth the salt, especially in the later difficulty missions of the game. Still, here are the Best Offensive Orbital Stratagems in Helldivers 2 in our Helldivers 2 Tier List:
Orbital Laser (S-Tier)
- Unlock Level: Level 15
- Stratagem Code: Right, Down, Up, Right, Down
- Uses: 3
- Cooldown Time: 300 seconds
The Orbital Laser is pretty much the best Offensive Orbital Stratagem in Helldivers 2 for the sole reason that it can pretty much wipe out hordes of enemies. There are no worries about inconsistencies this time around, as the Orbital Laser comes equipped with auto-tracking, without lining up the shots yourself. It’s ideal for clearing out larger-than-life enemies like Bile Titans and Chargers. The only downside is that it only has 3 charges and a long cool-down time.
Another issue to contend with is that the Orbital Laser is incredibly OP. To balance things out, the developers not only set a high cool-down time but the three charges or uses are distributed amongst all squadmates. So keep comms clear, and use the Orbital Laser when needed. Otherwise, you might end up with a salty lobby of teammates.
Orbital Precision Strike (C-Tier)
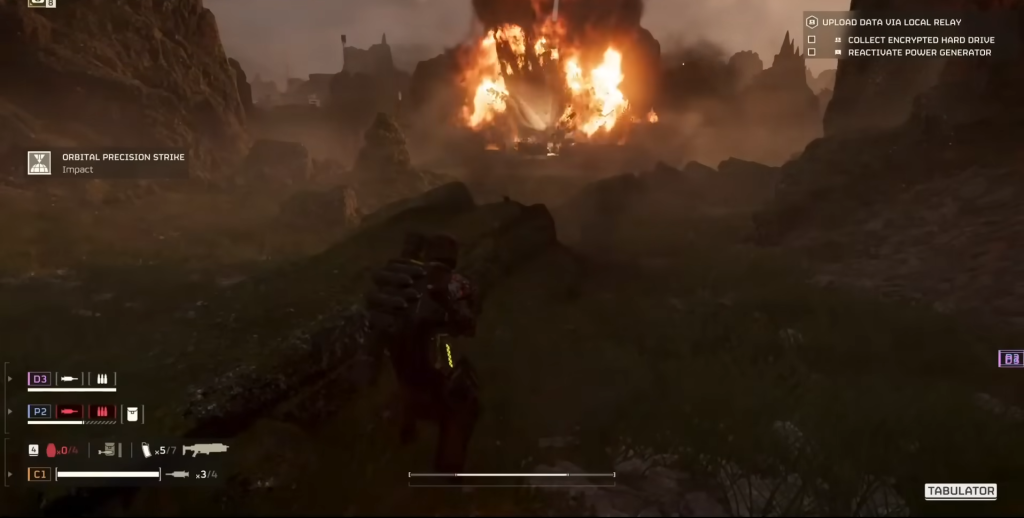
- Unlock Level: Level 1
- Stratagem Code: Right, Right, Up
- Uses: Unlimited
- Cooldown Time: 100 seconds
Ah, the glorious Orbital Precision Strike. It’s the first Stratagem that you get your hands on when you start playing Helldivers too and it’s pretty balanced for beginners and those making their way to the later levels of the game. The Orbital Precision Strike is decent at taking out primary objectives and small fry with relative ease.
It launches a blazing-fast single strike that is capable of killing off most types of enemies. But consistency is key and if you aren’t consistent or lucky with the Orbital Precision Strike Offensive Stratagem in Helldivers 2, then you’re going to have a bad time. It can take out all types of enemies except for the daunting Bile Titan.
It has a really low cooldown and comes with unlimited uses. Therefore, it is one of the more well-rounded Orbital Offensive Stratagems in Helldivers too. And it’s a great stratagem to start out with. The only downside is that it has a lesser area of impact than its eagle counterparts, which is why it’s down in Tier-C.
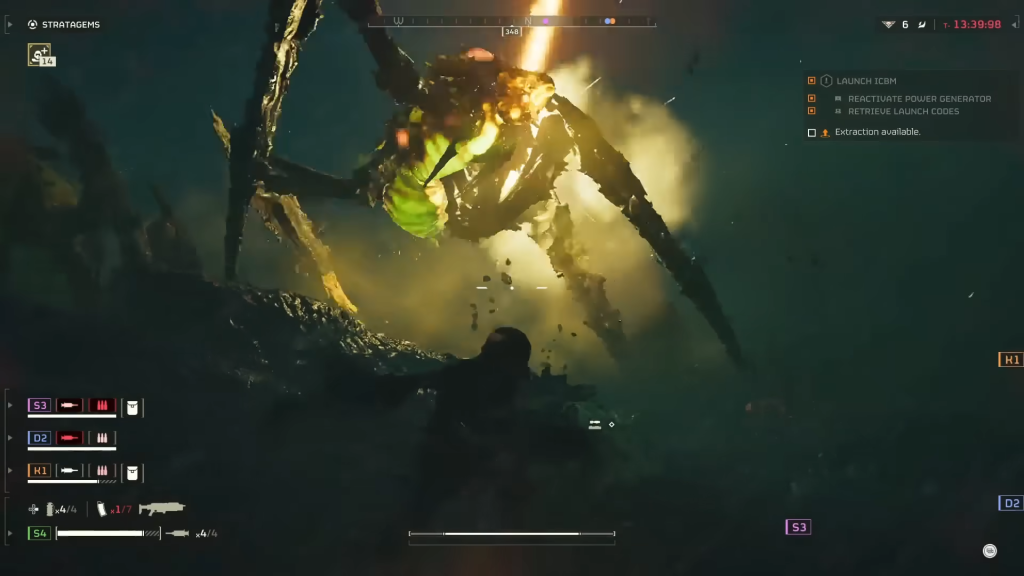
Orbital Railcannon Strike/Orbital Railgun (C-Tier)
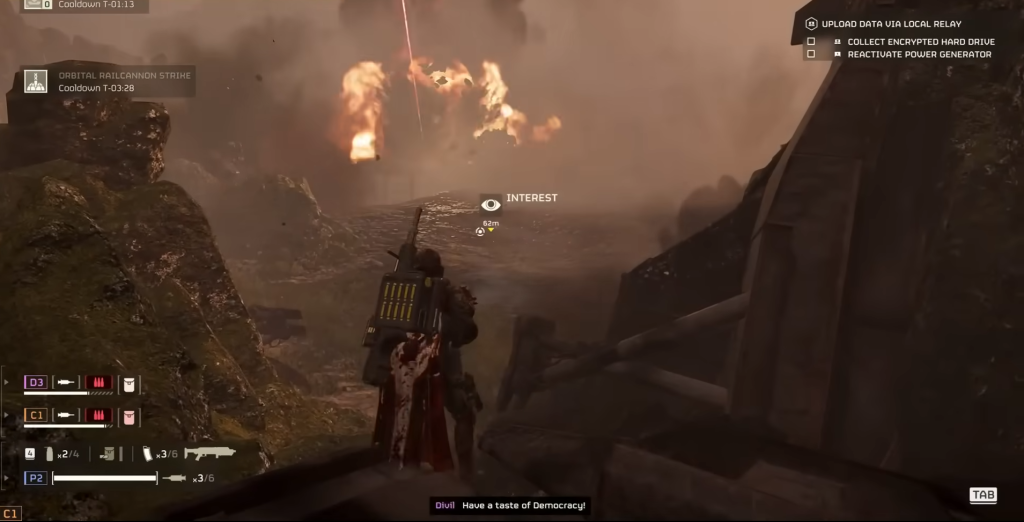
- Unlock Level: Level 20
- Stratagem Code: Right, Up, Down, Down, Right
Many would be surprised that the Orbital Railgun Offensive Stratagem is falling behind in our list of Best Stratagems in Helldivers 2. But it makes sense. Although it has a cool visual effect with an orbital laser turning a Bile Titan or Chargers into smithereens, the fact that it can only be used once makes it rough to use in the longer run.
It also comes with a really high cooldown time which is just not worth it for most players. Although it can one-shot enemy foes but after you’re done using it, you’ll still have to deal with an armada of Automatons and Terminids on the higher Level 9 or 10 Helldive difficulties.
The only use-case scenario where it makes sense to use the Orbital Railgun Stratagem in Helldivers 2 is missions where you’re tasked to kill priority targets like a single Bile Titan or a Charger. The Orbital Railgun is fun to use in the early stages of the game but becomes pretty redundant when you’re past Level 20 and onwards.
Orbital Walking Barrage (C-Tier)
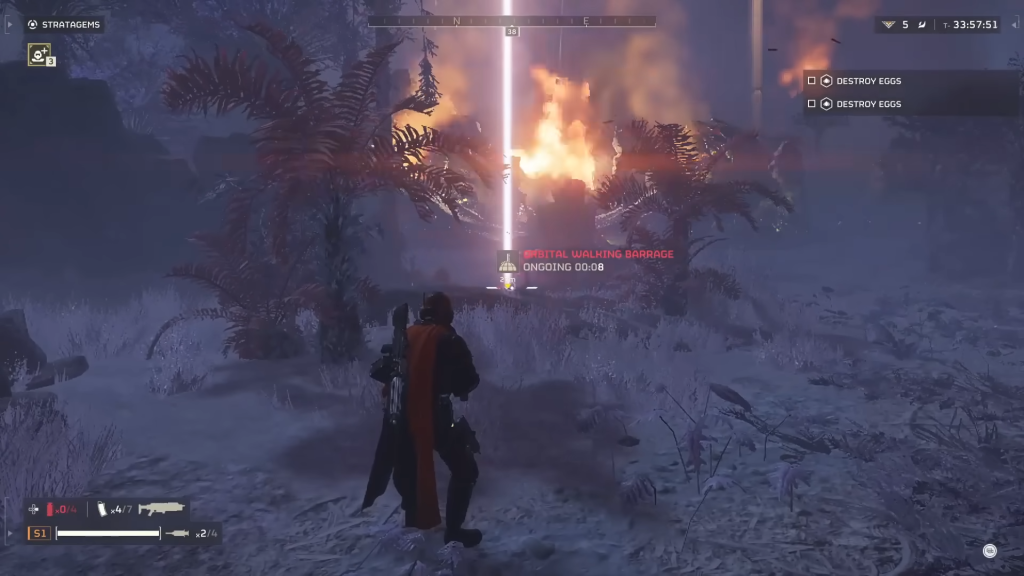
- Unlock Level: Level 10
- Stratagem Code: Right, Right, Down, Left, Right, Down
The Orbital Walking Barrage is a decent Offensive Stratagem in Helldivers 2, but it kind of falls behind because the Orbital Railgun gets a few cool points. Other than that, the Orbital Walking Barrage is slept on by most of the player base.
The only downside is that the Orbital Walking Barrage is a bit inaccurate when it comes down to launching Orbital Strikes. It also has a much tighter spread than many of the other Orbital Barrages such as the Orbital 380 HE and the 120mm Barrage.
Where it comes in handy isn’t to kill and wipe out larger enemies or bosses. The Orbital Walking Barrage is useful if you’re looking to wipe out a base and exfil out of a site. All-in-all, if you’re looking to wipe out a horde of enemies using the Orbital Walking Barrage, it’s a bit of a dice roll. Consistency and patience are key.
On a bad day, it might not kill enough Terminids or Automatons, making it redundant in the grand scheme of things. It’s ideal for taking out nests, but paired with the really long cool-down time, the Orbital Walking Barrage isn’t the most useful Offensive Stratagems in Helldivers 2.
Orbital Airburst Strike (D-Tier)
- Unlock Level: Level 5
- Stratagem Code: Right, Right, Right
The Orbital Airburst is not the greatest, but it’s not the worst Offensive Stratagem in Helldivers 2 either. While it offers some nifty visuals to look at and has a decent area of impact, it can only wipe out smaller enemies like breacher bugs, Weavers, and smaller Terminids. And when it comes to clearing out objectives, you can’t count on this Offensive Stratagem in Helldivers 2.
You’re better off choosing any of the above Stratagems if you want to deal a decent amount of damage. Though you can call in several strikes one after the other, you won’t do any significant damage to medium to heavily armored enemies.
Orbital Gas Strike (D-Tier)
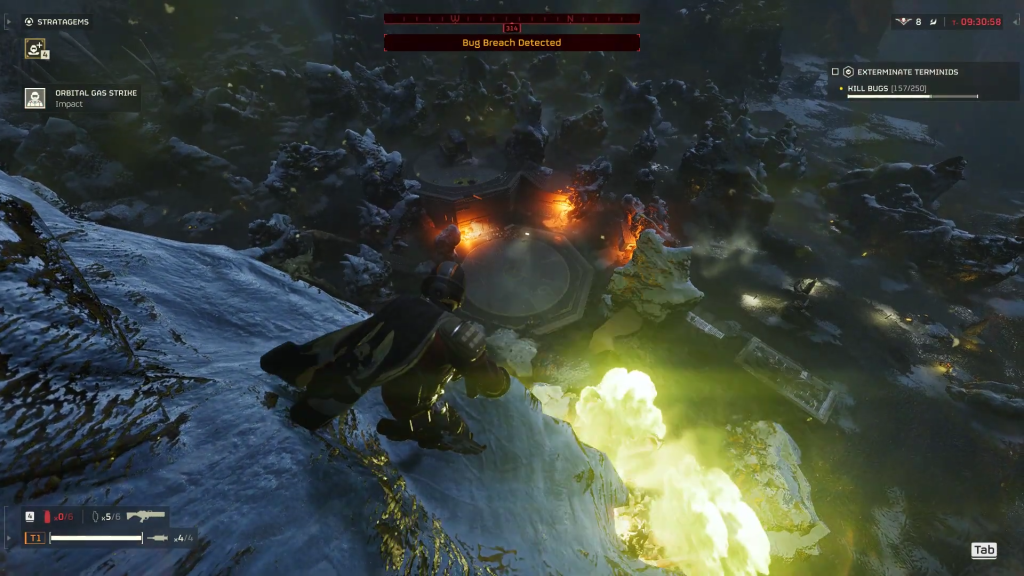
- Unlock Level: Level 3
- Stratagem Code: Right, Right, Down, Right
The Gas Strike is rather one of the more underpowered Offensive Stratagems in Helldivers 2. While it’s pretty consistent when it comes to injuring enemies such as Terminids, Weavers, and Mobs, larger enemies need to stay stationary to take any significant damage. You’d have to pair it with a stunning Defensive Stratagem like the EMS, to make the most of it.
It works when bug breaches or enemies are spawning from nests to incur some decent damage but other than that, the inconsistency is pretty much the same or less as any Orbital Offensive Stratagem in Helldivers 2.
For the most part, it’s relatively weak, and it doesn’t do enough damage to kill spongier enemies. But if you like running and running, the Gas Strike might give you a fun time if you’re not all that serious about the game. But believe me, the Gas Strike Offensive Stratagem in Helldivers 2 won’t be all that useful during Level 9 or 10 Difficulty Helldives.
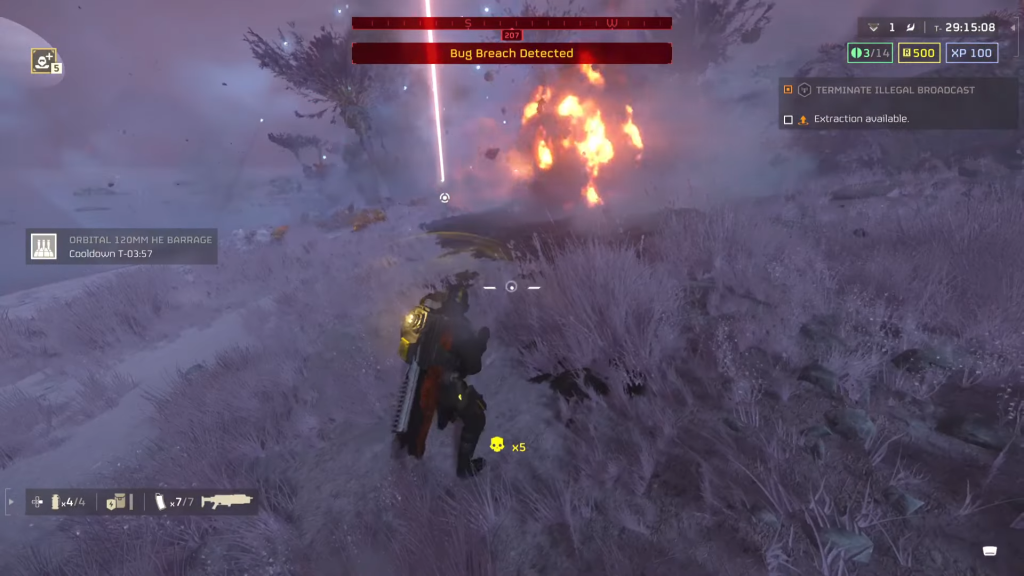
Orbital 380mm HE Barrage (D-Tier)
- Unlock Level: Level 8
- Stratagem Code: Right, Down, Up, Up, Left, Down, Down
The Orbital 380mm HE Barrage is pretty similar to the Orbital Walking Barrage. But the only difference is that the shells are deployed farther apart increasing the area of impact. It can come in handy when you launch a flurry of orbital 380mm HE barrages along with the Orbital Walking barrage. You can sit back and watch Hellfire rain on your enemies.
But The Orbital 380mm HE Barrage is pretty inconsistent when it comes to taking out enemies. Most of the time, it misses enemies and instead, you end up killing your teammates. If it hits, it does a ton of damage but when it doesn’t it ends up killing either you or one of your teammates.
It’s all good and well though as they can redeploy and Helldive once again.
While the Orbital 380MM HE Barrage has decent damage, the inaccuracy of its strikes makes it pretty redundant and unusable in most use-case scenarios. Just stay away from this Orbital Stratagem in Helldivers 2.
Orbital 120mm HE Barrage (D-Tier)
- Unlock Level: Level 8
- Stratagem Code: Right, Down, Left, Right, Down
The Orbital 120mm HE Barrage is one of the worst Orbital Offensive Stratagems in Helldivers 2. All-in-all, the Orbital Tree seems to be pretty underpowered from the get-go and the Orbital 120mm HE is a prime example of that.
The Orbital 120mm HE Barrage Offensive Stratagem is similar to the 380mm HE albeit, far weaker. The orbital shells dropped onto enemies are widely spaced apart, but there’s still a low area of impact. Consistency and luck also play a factor and the Orbital 120mm HE Barrage just doesn’t scratch that itch like most Offensive Stratagems do in Helldivers 2.
While the Orbital Laser takes the top spot as the Best Orbital Stratagem in Helldivers 2, we’ve tried our best to love Orbital Stratagems. But the Orbital 120 HE Barrage is a middle child that one can’t seem to love all that much.
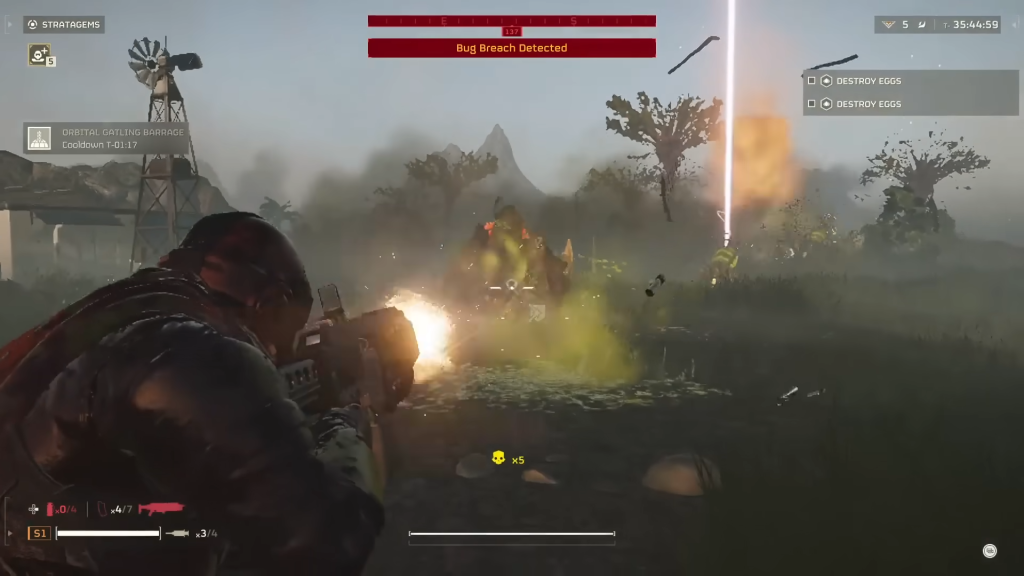
Orbital Gatling Barrage (D-Tier)
- Unlock Level: Level 2
- Stratagem Code: Right, Down, Left, Up, Up
The Orbital Gatling Barrage is only useful in the earlier stages of the game where you’re in a tight spot and surrounded by a bunch of Terminids. It’s not a fast deployment, much like the other Stratagems on the list as it takes 2 seconds to take impact. But it still does a fairly decent job of taking out weaker enemies. However, this Stratagem compromises on deployment time with its relatively low cooldown period, which is worth considering.
If you’re in a pinch and need to save yourself and your teammates, the Orbital Gatling Barrage is a Stratagem that is useful in the earlier stages of Helldivers 2, but it becomes pretty unusable when trying to accomplish serious Helldives at difficulties of Level 9 or 10. Other than that, the Orbital Gatling Barrage has a solid area of impact, lasts a few seconds and that’s pretty much it.
Orbital EMS Strike (F-Tier)
- Unlock Level: Level 5
- Stratagem Code: Right, Right, Left, Down
Let’s be honest here. The Orbital EMS does have its fair share of advantages as it’s capable of acting as a support Stratagem for your main offensive Stratagems. But at what cost? There are better alternatives to the Orbital EMS such as the EMS Mortar which is consistent at dropping EMS blasts with a solid radius upon enemies and holding them in place.
With the existence of the EMS Mortar Defensive Stratagem, the Orbital EMS’s existence doesn’t make much sense other than to take up space in the Orbital Tree. And it’s relatively inconsistent at times, missing enemies and letting them move forward unscathed.
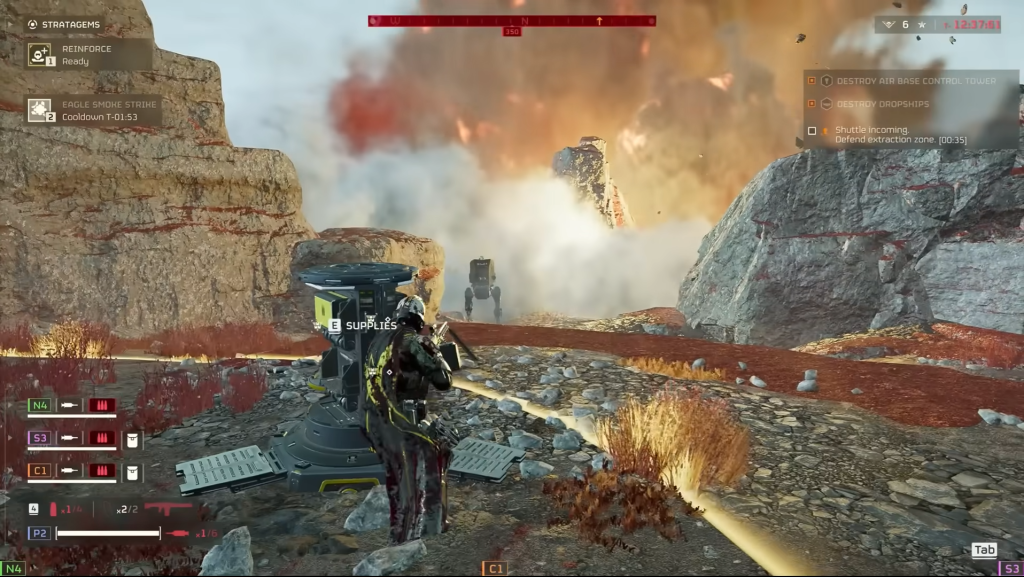
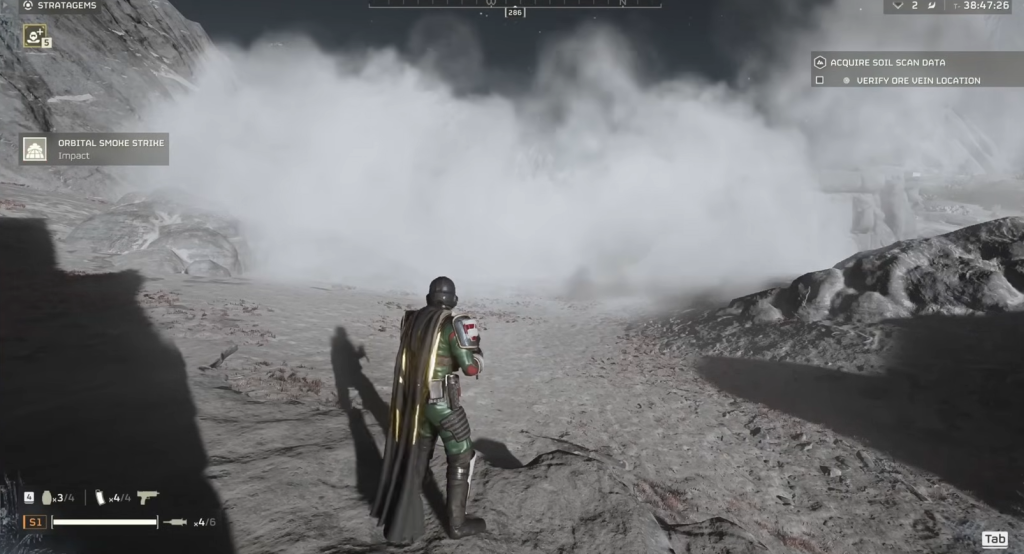
Eagle Smoke Strike and Orbital Smoke Strike (Helldivers 2 Stratagem Tier List F-Tier)
- Unlock Levels:
Eagle Smoke Strike: Level 8
Orbital Smoke Strike: Level 8 - Stratagem Codes:
Eagle Smoke Strike: Up, Right, Up, Down
Orbital Smoke Strike: Right, Right, Down, Up
The Orbital Smoke Strike and the Eagle Smoke Strike do pretty much the same thing. They create a cloud of smoke, preventing enemies from spotting you. This could be useful when doing stealth runs, but that’s pretty much against the rules of War isn’t it? Fighting for the prosperity of Super Earth, hiding behind a layer of smoke doesn’t sound all that fun.
Stratagems are all about big explosions, dealing tons of damage and literally blowing larger-than-life enemies to smithereens. The Eagle Smoke Strike and Orbital Smoke Strike do none of those things. Useful in games like CS2 but not when you’re playing an action-packed squad-based extraction shooter that’s all about raining down hellfire.
Helldivers 2 Stratagem Tier List – Summary
That pretty much sums up our top picks for All Offensive Stratagems Ranked from Best to Worst on our Helldivers 2 Stratagem Tier List. Make sure to stay tuned for more news, guides, updates, and more on eSportsNext!